Today we’re going to take a quick look at how to install STBEMU codes on any Android device. We’re using a simple Android Sony Xperia phone – nothing special. This is running on an older Android Lollipop system, but it works well.
Step 1: Download the App
First, go to the Google Play Store (on your Sony phone or any other Android device). Search for “STB EMU” and download it. Follow the steps to install it. Once installed, you will see the STBEMU codes icon.
Step 2: Initial Setup
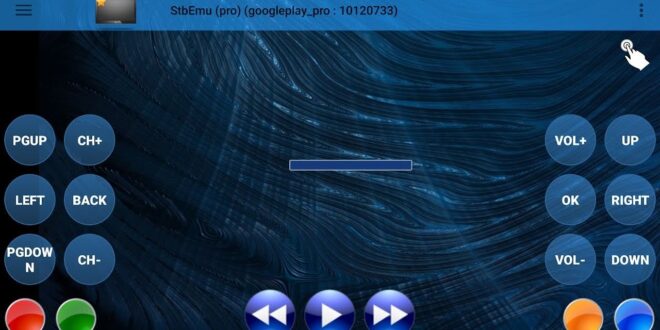
Click on the STB EMU icon to open the app. It will load slowly at first. You should see a user agreement pop up. At the bottom of this agreement, you will find a button that says “Configure” – click on it.
Step 3: Configuring the Profile
Inside the configuration menu, the most important section is “STB Profile.” Click on “Add or Modify STB Profiles.” Then, select “Profile.”
Here, you will see two main slots:
- Portal Settings
- STB Settings
Step 4: MAC Address & Portal URL
- In the STB Settings, you will find your MAC address. It is one of the most important details. It should start with
00:1A:79followed by other characters. Write this MAC address down or email it to yourself, as you will need it later. - Now, go to the Portal Settings. At the very top, you will see a field for “URL.” You need to edit this URL. First, remove everything that is already written there. Then, enter your service provider’s server URL.
Step 5: Restart the Application
After you have entered the correct server URL, the basic configuration is complete. The next step is to restart the application. Press the home button to exit STB EMU.
Step 6: Relaunch
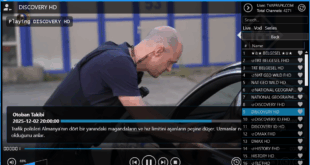
Go back to your home screen and find the STB EMU icon again. Launch the app once more. Ensure that it loads properly without any configuration prompts.